
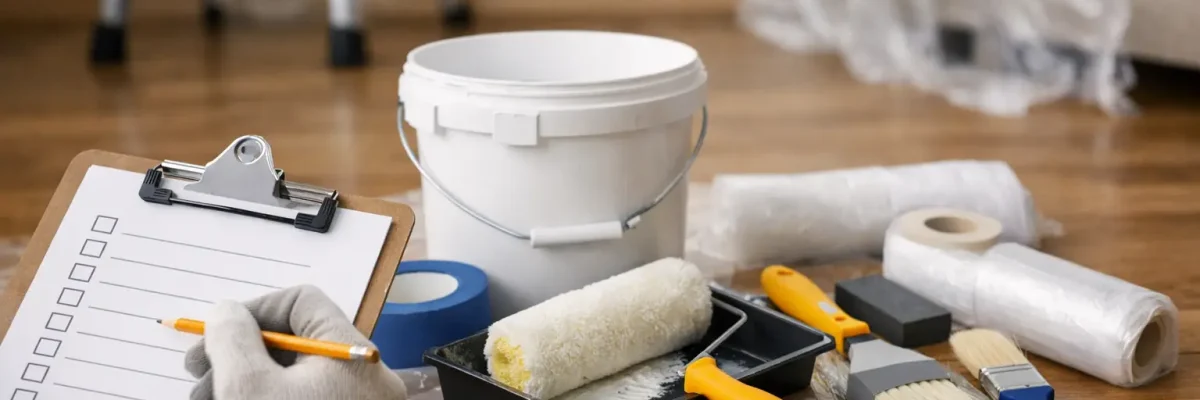
A paint job usually looks like it failed because of what happened before the first coat, not because of the paint itself. A solid painting prep work checklist helps catch the issues that lead to peeling, lap marks, uneven sheen, and early wear. Whether you are refreshing a home in Scottsdale, updating a retail space in Glendale, or planning a larger repaint in Phoenix, prep is what protects the finish and the investment.
Why a painting prep work checklist matters
Most surfaces are not truly ready when they look “good enough.” Walls collect dust, trim picks up hand oils, stucco hides hairline cracks, and exterior wood can trap loose fibers or old chalking paint. If those problems stay in place, fresh paint ends up bonding to the mess instead of the surface.
That is why prep has to be treated as part of the painting project, not a quick step before it. Good preparation improves adhesion, creates a more even finish, helps color look consistent, and reduces callbacks for touch-ups. It also reveals repairs that should happen before paint covers them up.
In Arizona, prep matters even more. Heat, sun exposure, dust, and seasonal monsoon moisture can all work against paint performance. Exterior surfaces especially need to be clean, stable, and properly primed if you want the finish to hold up.
Painting prep work checklist for interiors
Interior painting prep starts with the room itself. Furniture should be moved or grouped away from work areas, floors protected, and wall hangings, switch plates, and hardware removed where practical. Some crews tape around fixtures, but removal usually creates a cleaner result and saves time during detail work.
Next comes surface evaluation. This is where a professional eye makes a difference. Small nail holes are easy, but popped drywall fasteners, stress cracks, moisture staining, tape seams, and uneven texture all need a plan before painting begins. If you skip repair and go straight to coating, paint often highlights the flaw instead of hiding it.
Cleaning matters more than many people expect. Kitchens, bathrooms, hallways, and commercial interiors often have grease, residue, or airborne buildup that affects adhesion. Walls and trim should be cleaned based on the room’s conditions, then allowed to dry fully. A dusty sanding job followed by immediate paint is another common mistake. Dust needs to be removed, not just spread around.
Interior surface repair and sanding
Patching should match the surface and the depth of the defect. Lightweight filler may work for minor dings, while deeper damage may need a stronger patching compound and additional sanding. On trim and doors, old drips, rough edges, and chipped areas should be feather-sanded so the new finish lays down smoothly.
Glossy surfaces deserve extra attention. Existing semi-gloss and gloss paints on trim, cabinets, and doors can reject new coatings if they are not dulled properly. Sometimes sanding is enough. In other cases, a bonding primer is the safer choice. The right call depends on the condition of the old finish and the product being applied.
Caulking, masking, and priming indoors
Gaps around trim, baseboards, and casing should be caulked where needed, but not every joint should be filled. Expansion joints and areas designed to move may require a different approach. Over-caulking can look as sloppy as no caulking at all.
Masking should protect surfaces without replacing careful cutting and workmanship. Good prep means using tape, plastic, paper, and drop cloths where they actually reduce risk, especially around flooring, built-ins, countertops, and fixtures.
Primer is not mandatory on every wall, but it is essential in the right situations. Water stains, smoke residue, raw drywall, patched areas, drastic color changes, and slick existing coatings often need primer for uniform finish and proper adhesion. If a wall has multiple repairs, spot priming may not be enough to prevent flashing.
Exterior painting prep work checklist
Exterior prep has more variables because the substrate, weather, and exposure all matter. The first step is a full inspection of stucco, siding, fascia, trim, doors, garage doors, block walls, and any metal elements being painted. Cracks, failed caulking, wood rot, rust, chalking, and sun-baked coatings need to be identified before scheduling the paint application.
Cleaning is usually the foundation of exterior prep. In Phoenix-area conditions, surfaces often hold dirt, oxidation, and airborne dust. Depending on the material, prep may include pressure washing, soft washing, scraping, hand washing, or a combination of methods. The goal is not aggressive force. The goal is a sound, clean surface that will accept new paint.
Repairs that should happen before exterior paint
Stucco cracks should be addressed with the right patching materials and allowed to cure as needed. Wood trim with soft spots or active deterioration should be repaired or replaced before painting. Metal surfaces with rust need proper treatment, not just a coat over the top. If caulk has failed around windows, trim transitions, or penetrations, it should be removed and replaced where appropriate.
This is also the stage to look at previous coating failure. Peeling, blistering, or widespread flaking usually points to an underlying issue. It could be moisture intrusion, poor prior prep, incompatible products, or too many layers of failing paint. If that root cause is ignored, the new job may look fine at first and then fail in the same areas.
Sanding, scraping, and priming outside
Loose paint should be scraped to a firm edge, and rough transitions should be sanded so the repaired area does not telegraph through the new finish. On some exteriors, especially older wood trim and doors, this step makes the difference between a polished result and one that still looks worn after repainting.
Primer selection matters by substrate. Bare wood, exposed metal, patched stucco, masonry repairs, and weathered areas may all require different products. A universal shortcut product can work in some situations, but not all. Durability depends on matching the primer to the surface and the topcoat system.
The prep items people forget most often
A reliable painting prep work checklist includes the details that are easy to miss under time pressure. Dry time is one of them. Cleaned surfaces, patched areas, caulk, and primer all need adequate cure or dry time before moving forward. Rushing that schedule can trap problems underneath a fresh-looking finish.
Lighting is another overlooked factor. Interior walls can appear smooth under general room light and still show patch lines or sanding marks when daylight hits them from the side. Exterior color changes can reveal repaired sections if the prep was uneven or the primer coverage was inconsistent.
Then there is the matter of adjacent surfaces. Roofing, pavers, pool deck coatings, landscaping, cabinets, and flooring all need protection planning. Good prep is not only about the painted surface. It is also about keeping everything around it clean and undamaged.
DIY prep versus professional prep
Some prep tasks are manageable for a homeowner or property manager, especially basic clearing, light cleaning, and minor hole filling. But surface diagnosis is where many projects go off track. It is not always obvious whether a stain needs a sealer, whether a crack is cosmetic or active, or whether existing paint is failing because of age or moisture.
That is why professional prep often delivers better long-term value than a faster, cheaper start. Experienced painters know how to read the substrate, choose the right repair materials, and adjust the process for drywall, stucco, wood, masonry, metal, or cabinetry. They also know when extra prep is worth the cost and when it is not.
For example, not every old wall needs full skim coating, and not every exterior needs full strip-down work. Sometimes targeted repair, proper sanding, and the right primer are enough. Other times, anything less is a temporary fix. The right answer depends on the surface condition, the finish expectations, and how long you want the result to last.
What to expect before paint goes on
Before painting starts, the site should be organized, surfaces should be repaired and clean, protection should be in place, and the scope of prep should be clear. That includes knowing which items will be removed, what gets patched, where primer is required, and how final touch-up standards will be handled.
For homeowners and commercial clients alike, clear communication during prep is just as important as the painting itself. If damaged trim, hidden wall issues, or substrate problems show up once prep begins, those findings should be addressed early. That keeps the project on schedule and helps avoid surprises at the end.
At Right Choice Painting, LLC, we have seen the same pattern for years: the projects that hold up best are the ones where prep was handled with care from the beginning. If you want paint that looks clean on day one and still performs down the road, start with the surface, not the color chip.
The smartest way to think about prep is simple. Every hour spent getting the surface ready gives the finish a better chance to look sharper, last longer, and stay off your to-do list for years.