
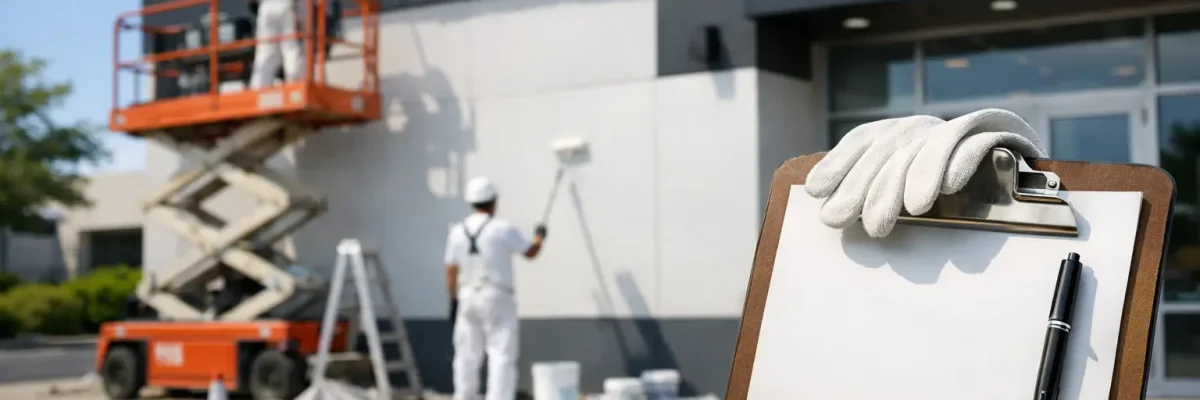
Phoenix sun can fade a once-crisp storefront, office building, or multifamily property faster than many owners expect. A thoughtful commercial exterior repaint checklist helps you move from noticing worn paint to completing a well-managed project that protects the building, supports curb appeal, and avoids unnecessary disruption for tenants, customers, and staff.
Exterior repainting is not simply a color decision. The condition of stucco, block, metal, wood, trim, and sealant all affects the scope, cost, and lifespan of the finished work. Planning these details before a crew arrives gives property owners and managers clearer expectations and better control over the schedule.
Commercial Exterior Repaint Checklist
1. Confirm why the property needs repainting
Start with a walk-around of the entire building, not just the most visible elevation. Look for fading, chalking paint, peeling, cracks, rust, water stains, mildew, failed caulking, damaged trim, and areas where previous repairs do not match the surrounding finish. Photograph concerns and note their locations so the estimate addresses the full scope.
Some wear is cosmetic, while other conditions point to a maintenance problem. For example, paint bubbling near rooflines may indicate water intrusion, and recurring stains below scuppers may require drainage repairs before painting. A quality repaint should not cover up an issue that will quickly damage the new coating.
In the Phoenix metro area, intense UV exposure is a major factor. South- and west-facing walls often age differently than shaded elevations, especially on properties with dark colors or older, lower-quality paint. Those differences may affect whether the building needs a full repaint or targeted repairs and coating work.
2. Define the project scope before requesting estimates
A clear scope allows painting contractors to price the same job and helps you compare proposals fairly. Decide which surfaces are included: exterior walls, parapets, fascia, soffits, doors, metal railings, gates, window trim, loading areas, dumpster enclosures, stucco walls, and parking-lot structures.
Also identify what should be excluded. Tenant signs, awnings, landscaping, exterior equipment, and specialty surfaces may need separate handling. If your property has historic details, elastomeric coatings, previously painted masonry, or extensive metal elements, mention them upfront. Surface-specific preparation and products matter more than a one-size-fits-all bid.
For a retail center or medical office, it may make sense to phase the work by building or elevation to preserve access. A hotel, school, or occupied multifamily community may need a more detailed daily plan. The right approach depends on traffic patterns, occupancy, noise limits, and the areas that are most visible to the public.
3. Select colors with the building and climate in mind
Color should support your property’s identity, but it also has practical consequences. Review lease requirements, brand standards, HOA rules, local guidelines, and any ownership approvals before the job is scheduled. If multiple decision-makers are involved, approve color samples on the actual building instead of relying only on a small paper chip.
Lighter exterior colors can help reduce heat absorption, while very dark colors may show fading and surface imperfections more quickly under Arizona sun. That does not mean dark accents are off the table. They can add a sharp, modern look when used thoughtfully on doors, trim, architectural features, or shaded areas.
Consider how the color will work with the roof, paving, stone, signage, and neighboring buildings. A repaint should feel intentional from the street, not like a collection of separate choices. Confirm the sheen as well. Flat finishes can soften stucco texture, while satin or semi-gloss finishes are often more practical for doors, metal, and trim that need regular cleaning.
4. Verify surface repairs and preparation requirements
Prep work is where exterior paint projects are won or lost. Your scope should account for washing, scraping loose paint, sanding rough edges, patching stucco, repairing wood rot where applicable, treating rust, sealing gaps, priming bare areas, and protecting nearby surfaces.
Ask the contractor how they will address each material on your property. Stucco cracks may need flexible sealant or patching methods appropriate for the crack size. Exposed metal needs rust removal and a compatible primer. Chalky masonry may need thorough cleaning and a bonding or masonry-specific primer before topcoats are applied.
Do not overlook caulking. Failed sealant around trim, penetrations, windows, and joints can allow water behind painted surfaces. Paint improves appearance and provides a protective layer, but it is not a substitute for proper repairs, flashing, or waterproofing.
5. Choose coatings for performance, not just price
A lower bid may use fewer coats, limited prep, or products that are not suited to the substrate. Ask which primer and finish products will be used, how many coats are included, and whether the system is appropriate for the building’s existing coating and surface type.
For sun-exposed stucco and masonry, quality exterior acrylic coatings are commonly a strong choice because they provide color retention and flexibility. In some situations, an elastomeric coating may help bridge fine hairline cracks. It is not automatically the best answer for every wall, however. The substrate condition, existing coatings, moisture exposure, and the manufacturer’s specifications should guide the recommendation.
A dependable contractor should be able to explain the product choice in plain language. You should know what is being applied, where it is being applied, and why it fits the job.
6. Plan access, safety, and daily operations
Painting crews need room to work safely and efficiently. Before work begins, identify access points, locked gates, utility areas, fire lanes, loading zones, parking restrictions, and locations for lifts or ladders. If exterior painting affects a public entrance, establish a safe alternate route and clear signage.
For occupied commercial properties, communication is part of the work. Notify tenants, employees, and customers about the schedule, parking changes, temporary noise, and any areas that will be closed. A good contractor coordinates around high-traffic times whenever possible, but property management also plays an important role in keeping people informed.
Make a plan for the following items before the first day of work:
- Protect landscaping, outdoor furniture, vehicles, signs, and adjacent finishes.
- Coordinate access for roof areas, electrical panels, service corridors, and secured yards.
- Keep emergency exits, accessible routes, and required fire lanes clear.
- Set expectations for work hours, lift placement, parking, and debris removal.
- Designate one property contact who can approve field decisions quickly.
Weather belongs in the plan, even in the desert. Wind can affect spraying, dust control, masking, and overspray risk. Temperature and surface heat can affect application and drying. An experienced local crew watches conditions and adjusts the work plan rather than forcing paint onto a surface at the wrong time.
7. Review the proposal for complete accountability
A professional proposal should make it easy to see what you are buying. Review the preparation steps, surfaces included, coatings, colors, number of coats, access equipment, estimated schedule, cleanup process, warranty terms, and exclusions. If an item matters to you, make sure it appears in writing.
Be cautious of vague language such as “paint exterior as needed” without details. It may leave room for misunderstandings about repairs, pressure washing, priming, caulking, or high-access areas. The lowest number can become the highest cost if the scope is incomplete.
At Right Choice Painting, LLC, clear communication and thorough inspections are central to the process because commercial clients need to know who is handling the details. A reliable painter should also explain how change requests will be documented if concealed damage or additional repairs are discovered after the project starts.
8. Schedule a final walkthrough before closing the project
Do not wait until weeks later to inspect the work. Walk the property with the project lead when the job is substantially complete and review it in daylight from both close range and normal viewing distance. Check for consistent color, clean cut lines, full coverage, protected landscaping, properly reinstalled fixtures, and clean jobsite conditions.
Pay close attention to doors, trim, corners, railings, utility areas, and edges around windows. These are the places where incomplete prep or rushed application is easiest to spot. Keep a written punch list, agree on the completion timing, and confirm that any leftover labeled paint is available for future touch-ups.
A commercial repaint should make your property look cared for while giving its exterior another layer of protection against heat, dust, and everyday wear. When you plan the details early, the finished building sends the right message before anyone walks through the door.