
A paint job usually looks like it failed because of the paint, but most of the time the real issue started earlier. If you have ever wondered what is included in paint prep, the answer is simple: everything that gives the coating a clean, sound, properly protected surface to bond to.
That matters even more in the Phoenix area. Intense sun, dust, stucco movement, dry air, and seasonal monsoon moisture can all expose shortcuts fast. Good prep is what keeps an exterior from peeling early, an interior wall from showing every patch, and cabinets from looking worn before they should.
What is included in paint prep for most projects?
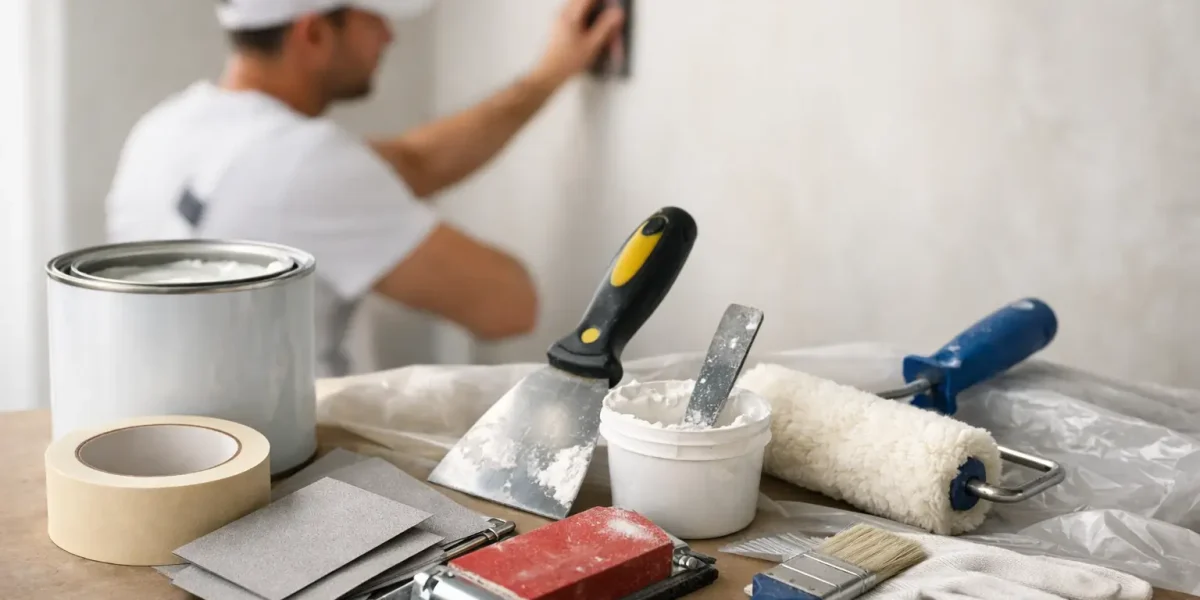
Paint prep is the work completed before the finish coats go on. It usually includes protecting nearby areas, cleaning the surface, removing failing material, sanding, patching, caulking, priming, and checking that the surface is ready for paint.
The exact scope depends on the material and the setting. Prepping drywall is not the same as prepping stucco. Cabinets require more detailed cleaning and sanding than a typical wall. Commercial spaces may also need stricter scheduling, odor control, and protection for occupied areas. The goal stays the same across every project: create a surface that will hold paint evenly and deliver a clean, durable result.
Surface protection comes first
Professional prep starts by protecting what should not be painted. Inside a home, that often means moving or covering furniture, protecting floors, masking trim, removing switch plates, and containing dust in active living areas. In a commercial setting, it may also include protecting inventory, workstations, signage, and customer access paths.
Outside, prep can involve covering plants, hardscape, lighting, windows, fixtures, pool equipment, and nearby surfaces that could be affected by washing, scraping, or overspray. This step may not be the most visible part of the job, but it is one of the clearest signs of a careful contractor. A clean result starts with controlling the work area.
Cleaning is a major part of paint prep
Paint sticks best to a clean surface. Dirt, grease, chalky residue, hand oils, smoke film, and mildew all interfere with adhesion. That is why cleaning is not optional.
For interior walls, cleaning may be as simple as removing dust and spot-cleaning areas with buildup. In kitchens, bathrooms, and around light switches or door frames, more detailed cleaning is often needed because oils and residue collect there. For cabinets, degreasing is critical. Even beautiful sanding work can fail if the surface still carries invisible kitchen grease.
Exterior cleaning is usually more involved. Stucco, siding, fascia, block walls, and trim often need pressure washing or a controlled wash process to remove dust, oxidation, cobwebs, and loose material. In Arizona, windblown dust and sun-baked chalking can create a thin layer that keeps new paint from bonding well. If that layer stays, the finish may look fine at first and then start to wear unevenly.
Scraping, sanding, and dulling the surface
Once the surface is clean, failing paint and glossy spots have to be addressed. That can mean scraping peeling areas, feather-sanding rough edges, or scuff-sanding glossy finishes so primer and paint can grip properly.
This is one of the biggest differences between a quick repaint and a lasting one. Paint should not be applied over loose paint, soft caulk, flaking wood fibers, or glossy coatings without proper abrasion. If those issues are skipped, the new coat is only as strong as the weak layer underneath.
The amount of sanding depends on the substrate. Drywall patching may only need a smooth finish sand. Trim and doors often need scuff sanding for a more even final appearance. Cabinets usually require a more thorough sanding process because the finish quality is under close scrutiny at eye level and hand level every day.
Repairs are part of prep too
A quality paint job is not just about color coverage. It is also about correcting surface flaws before paint highlights them.
Prep commonly includes filling nail holes, repairing dents, patching drywall damage, addressing minor wood rot where appropriate, replacing damaged caulk, and fixing small cracks in stucco or other masonry surfaces. On exteriors, sealant around joints, windows, and trim may need to be renewed to help keep moisture out and improve the finished appearance.
Not every defect falls under standard prep. Larger carpentry issues, active water damage, failing stucco systems, and major substrate deterioration may require separate repair work before painting can begin. A dependable contractor should explain that clearly rather than paint over a problem and hope it stays hidden.
Caulking and sealing help create a finished look
Caulking is easy to overlook, but it makes a visible difference. It closes small gaps where trim meets walls, where siding or fascia joints need sealing, and where movement cracks can affect appearance.
Done correctly, caulking improves both durability and appearance. It helps block water intrusion on exteriors and gives interiors a more finished, crisp line. Done poorly, it can leave smeared edges, shrinking gaps, or early cracking. The right product also matters. Some areas need flexibility, some need paintability, and some should not be caulked at all because they are designed to breathe or drain.
Priming is often included, but not always across every inch
People sometimes assume primer goes on every project from top to bottom. Sometimes that is true, but often primer is used where it is needed most.
Primer may be applied over bare drywall, patches, repaired stucco, exposed wood, stains, metal, glossy surfaces, or areas with strong color changes. It helps equalize porosity, improve adhesion, block stains, and support a more uniform finish.
For repaint projects where the existing coating is sound and compatible, full priming may not be necessary. Spot priming may be the right approach instead. That does not mean cutting corners. It means matching the prep system to the condition of the surface. An experienced painter should be able to explain why full primer, spot primer, or no primer is appropriate for a specific job.
What is included in paint prep for interiors vs. exteriors?
Interior prep usually focuses on cleanliness, patching, sanding, masking, and controlling dust in occupied spaces. Attention to detail matters because lighting, wall texture, and smooth finishes make flaws easier to see. Prep for interiors may also include protecting flooring, removing hardware, and managing work in stages so the household or business can keep functioning.
Exterior prep leans more heavily on washing, scraping, caulking, masonry or stucco repair, and weather timing. Sun exposure, temperature, and moisture conditions all affect when surfaces are ready to be coated. In Phoenix, this is especially important on stucco homes, garage doors, wood trim, and metal surfaces that take direct heat.
The same word, prep, covers both settings, but the actual process should fit the material and environment. That is why one flat quote with no discussion of surface condition can be a red flag.
Cabinets, doors, and specialty surfaces need a tighter prep process
Some surfaces demand more than standard wall prep. Cabinets, doors, and specialty finishes need a higher level of detail because they get more touch, more light, and more scrutiny.
These projects often include hardware removal, deep cleaning, sanding or deglossing, filling surface flaws, priming with the right bonding product, and creating a dust-controlled setup for a smoother finish. If shortcuts happen here, the problems show up quickly as chips, poor adhesion around handles, rough texture, or uneven sheen.
That is one reason experienced contractors treat cabinet refinishing and fine-finish door work as their own category rather than just another paint job.
How to tell whether paint prep is thorough
You usually can tell from the estimate and the walkthrough. A professional should talk about surface condition, not just color and price. They should explain what needs cleaning, what will be repaired, what will be protected, and whether primer is part of the plan.
It is also fair to ask practical questions. Will cracks be patched? Will glossy trim be sanded? Are landscaping and floors covered? Is there a plan for cleanup each day? Reliable prep is specific. Vague language often leads to vague results.
At Right Choice Painting, LLC, prep is part of how projects stay on schedule and hold up over time. Careful surface work takes more effort up front, but it is what helps the final finish look polished and perform the way customers expect.
The best paint jobs rarely start with the paint. They start with patience, surface knowledge, and a crew willing to do the less glamorous work that makes the finished result worth seeing every day.