
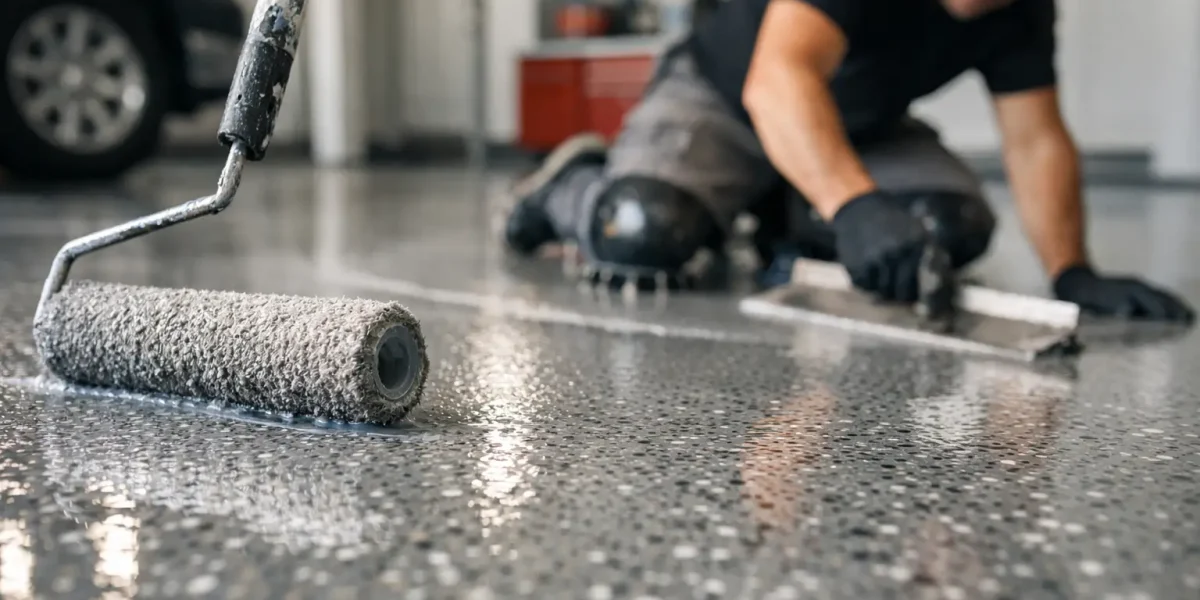
A garage floor usually tells the truth about a space. Tire marks, oil spots, hot-tire pickup, and dusty concrete show up fast in Arizona garages, especially when the slab was never properly sealed or coated to begin with. If you’re researching how to coat garage floors, the biggest factor is not the topcoat itself. It is the prep work underneath it.
A good floor coating should do more than improve appearance. It should help the surface resist stains, reduce dust, hold up to foot and vehicle traffic, and make routine cleanup easier. When the coating fails, it is usually because the slab had moisture issues, surface contamination, or poor profile before the first coat ever went down.
How to coat garage floors the right way
The right approach starts with understanding your concrete. Some garage slabs are in solid shape and only need cleaning and mechanical profiling. Others have cracks, old paint, tire wear, or moisture movement that change the product choice and application method. That is why a one-size-fits-all answer rarely delivers lasting results.
In most residential garages, the process includes cleaning, degreasing, repairing damage, profiling the concrete, testing conditions, applying a primer or base coat, broadcasting flakes if desired, and sealing with a protective topcoat. Each step matters. Skipping one to save time usually costs more later.
Start with the slab, not the color chart
Homeowners often begin by choosing a finish color or flake blend, but coating performance comes first. Concrete is porous, and it absorbs oil, moisture, and contaminants over time. If those materials remain trapped in the slab, the coating can blister, peel, or wear unevenly.
A visual inspection helps identify obvious issues like spalling, pitting, hairline cracks, and old failed coatings. Less obvious problems, such as moisture vapor transmission, may require testing. In the Phoenix area, heat matters too. High slab temperatures can shorten working time and affect how epoxy or polyaspartic products level and cure.
Clean and degrease thoroughly
Surface cleaning is not just a quick sweep and rinse. Dust, oil, tire residue, and embedded grime all interfere with adhesion. Any degreaser used on the floor must be fully removed before coating starts, or it can create its own bond issues.
This is one of the most common trouble spots in do-it-yourself projects. A floor can look clean and still be contaminated enough to cause failure. Areas near parked vehicles, water heaters, workbenches, and trash bins usually need extra attention.
Repair cracks and damaged areas
Small cracks are common in garage slabs, but they should not simply be painted over. Depending on the size and movement of the crack, repairs may involve fillers, patching compounds, or flexible materials designed for concrete movement. Surface pits and divots should also be filled so the coating lays evenly.
Not every crack disappears completely after coating. Some may still show faintly depending on repair depth, slab movement, and finish type. The goal is to create a stable, clean surface, not to pretend a damaged slab is brand new.
Surface prep is where coating systems succeed or fail
If you want to know how to coat garage floors for long-term durability, this is the section that matters most. Concrete needs a surface profile so the coating can grip the slab. Acid etching is sometimes used in basic applications, but professional floor systems more often rely on mechanical grinding because it provides more consistent preparation.
Grinding removes weak surface material, opens the pores of the concrete, and helps expose hidden contamination or previous coating failure. It also gives the installer a clearer picture of what repairs are needed before product goes down.
Why profile matters in Arizona garages
Arizona garages take a beating from heat, dust, and vehicle use. A coating may look fine on day one even if prep was rushed, but hot tires and seasonal temperature swings tend to reveal weak adhesion quickly. That is why dependable contractors place so much emphasis on grinding, patching, and moisture review before discussing finish options.
A properly prepared floor also gives you more predictable coverage and appearance. Flake systems broadcast more evenly, and topcoats cure with a cleaner, more uniform finish.
Choosing the right coating system
There is no single best coating for every garage. The right system depends on how the garage is used, what condition the slab is in, how quickly the space needs to be back in service, and how much durability the owner expects.
Epoxy is a popular base material because it bonds well and builds thickness. It can create a strong, attractive surface, especially when paired with decorative flakes and a clear topcoat. Polyaspartic and polyurea products are often chosen for faster cure times, UV stability, and strong wear resistance. In many professional systems, these materials are used together rather than treated as competing options.
A simple roll-on kit from a home improvement store may work for a short-term cosmetic refresh, but it usually does not perform like a professionally installed multi-coat system. The solids content, prep requirements, and film build are different. That trade-off may be acceptable for a low-use space, but not for a garage that sees daily vehicle traffic.
Decorative flakes are not just about looks
Flake systems are popular because they give garage floors a cleaner, finished appearance, but they also help disguise dirt, minor slab variation, and future wear. A full broadcast flake floor can create a more uniform look than a solid color coating, especially in older garages where the slab has visible character.
That said, design should match function. Some homeowners want a light gray blend to brighten the space. Others prefer a darker mix that hides dust and tire marks better. The right choice depends on how the garage is used and how much maintenance the owner wants to see between cleanings.
Application steps that make a difference
Once the floor is prepared, repairs are complete, and the product is selected, timing becomes critical. Coating materials have specific working windows, recoat times, and temperature considerations. Applying too slowly or too quickly can affect bond, texture, and finish consistency.
Most systems start with a primer or base coat. Decorative flakes may be broadcast into that wet coat to rejection, meaning the entire surface is covered. After curing, excess flakes are scraped and vacuumed, and then a clear topcoat is applied to lock everything in and provide added protection.
The floor should also be protected during cure. Foot traffic may be allowed sooner than vehicle traffic, depending on the system. Rushing a car back onto the floor too early can leave marks or compromise the finish.
Common mistakes to avoid
The most frequent problems are avoidable. Coating over a damp slab, underestimating oil contamination, using the wrong repair material, and applying product in unfavorable temperatures all create trouble. Another common mistake is expecting a thin single coat to hide major slab damage or perform like a commercial-grade system.
Product choice matters, but matching the product to the condition of the slab matters more. A dependable installer will explain those trade-offs clearly instead of promising the same result on every garage.
Should you do it yourself or hire a pro?
That depends on your goals. If you want a quick visual improvement and are comfortable with short-term results, a DIY kit may be enough. If you want a garage floor that looks sharp, resists wear, and holds up over time, professional prep and installation usually make the difference.
The gap is not just in labor. It is in moisture evaluation, crack repair, grinding equipment, product quality, application timing, and final inspection. Experienced crews know how to read the slab, spot trouble early, and build a system around actual site conditions.
For homeowners and property managers who want a polished, durable result, working with a contractor who handles concrete coatings regularly can save time, frustration, and the cost of redoing a failed floor. At Right Choice Painting, that means treating garage floors with the same attention to prep, scheduling, and finish quality that customers expect from any professional surface project.
What to expect after the coating is done
A coated garage floor is easier to maintain, but it is not maintenance-free. Sand and grit should be swept out regularly so they do not scratch the surface over time. Chemical spills should be cleaned promptly, even on a high-performance coating. And while these systems are durable, dragging sharp metal equipment across the floor can still cause damage.
The benefit is consistency. A properly installed coating gives the garage a cleaner appearance, better stain resistance, and a surface that is easier to live with day after day. It can also make the entire space feel more finished, whether the garage is used for parking, storage, a home gym, or a workshop.
If you are deciding how to coat garage floors, think beyond the first weekend and focus on how the floor needs to perform a year from now. The best results come from solid prep, the right system, and workmanship that respects the slab from the start.